
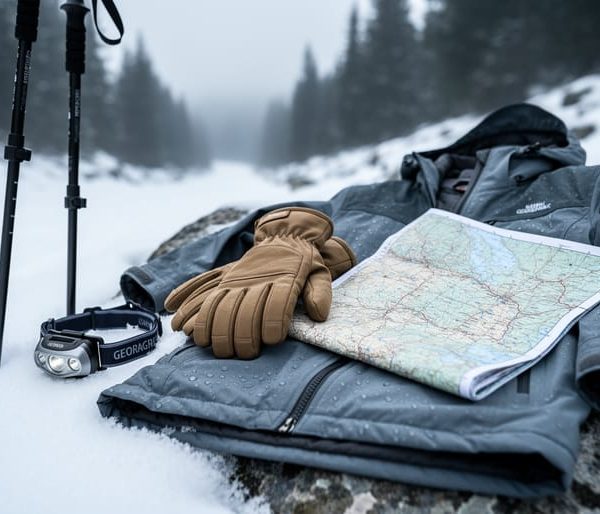
To use AllTrails safely on a California winter hike, download your trail map offline before you leave home, check the recent reviews for snow, ice, and closure reports, and treat the app as one tool in a bigger safety kit, not the whole plan. Setup takes about 15 minutes the night before. The skill level is beginner-friendly, but the prerequisite is real: you need a charged phone, a paper backup, and a willingness to turn around when conditions say so.
Here’s why that matters. Winter in California isn’t one season, it’s several. A sunny coastal bluff trail in the morning can be an icy, snow-covered climb in the Sierra by afternoon, and the same trail line on your screen looks identical in both cases. AllTrails shows you where the trail goes. It can’t tell you whether the footing is safe, whether daylight will run out before you reach the loop’s far side, or whether your signal will survive the canyon. Short days, fast-changing weather, and cold that drains phone batteries quickly all shift the math.
If you’ve planned family trips around mountain country like we have around Dillon, you already know the drill: check the forecast, pack for worse, and let conditions set the schedule. The same winter habits apply here, and this guide walks through them one step at a time.
What You Need Before You Hit the Trail: Tools, Gear, and App Setup
Setting Up AllTrails Before You Leave Home
Before you leave home, spend ten minutes in the app, because the parking lot is a terrible place to figure it out. First, download the trail’s offline map while you’re on Wi-Fi. Cell service vanishes fast in canyons and mountain valleys, and cold makes things worse, since phones can shut down when the battery gets too chilly. Offline maps often sit behind a paid plan, and features change over time, so confirm what your plan includes rather than assuming.
Next, save the trail to a list so it’s easy to pull up with one tap. Then read the recent reviews and photos, paying close attention to dates. Look for mentions of snow, mud, flooded crossings, or closures, and treat anything older than a few weeks with suspicion.
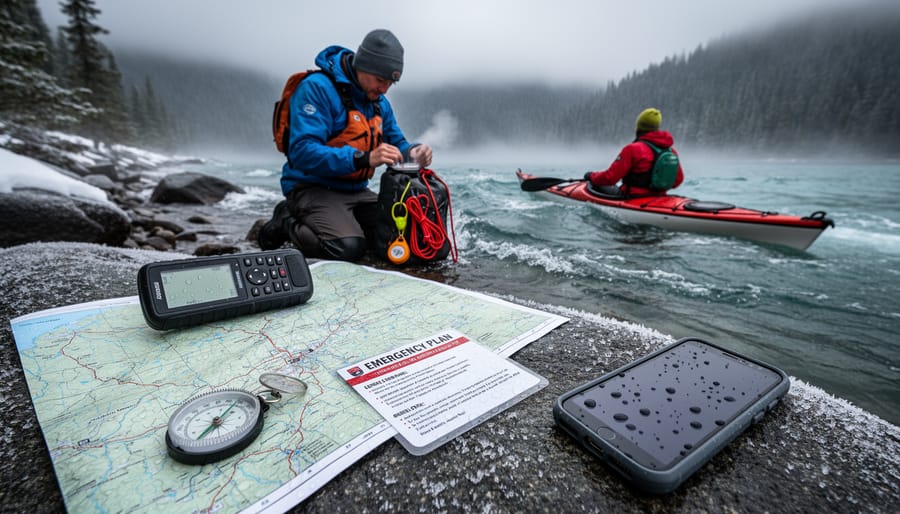
Finally, send your plan to someone at home: the trailhead, your route, your expected return time, and when they should call for help if they haven’t heard from you. Share your live location too if you can.
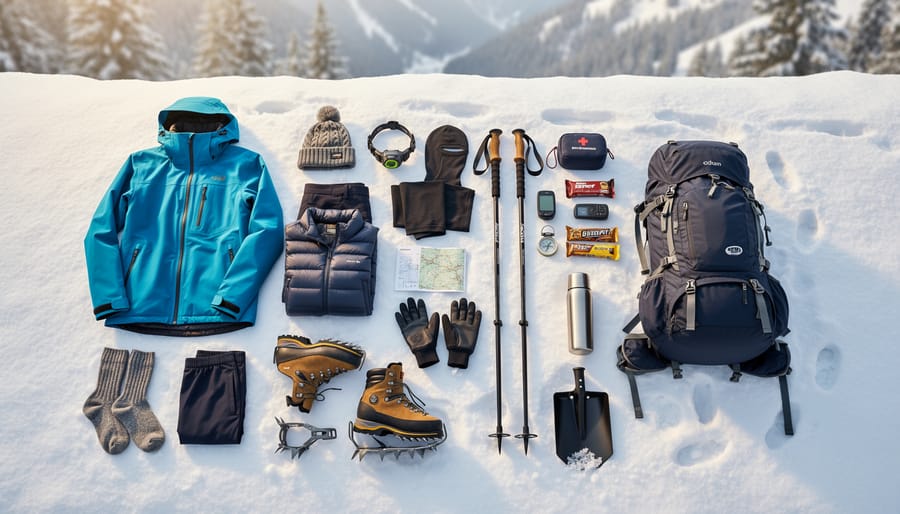
While you’re prepping, pack your cold-weather snacks and lay out your cold-weather outfit so nothing gets forgotten.
Safety Warnings: When California Winter Trails Say “Turn Around”
Why Trail Reviews Can Be Out of Date
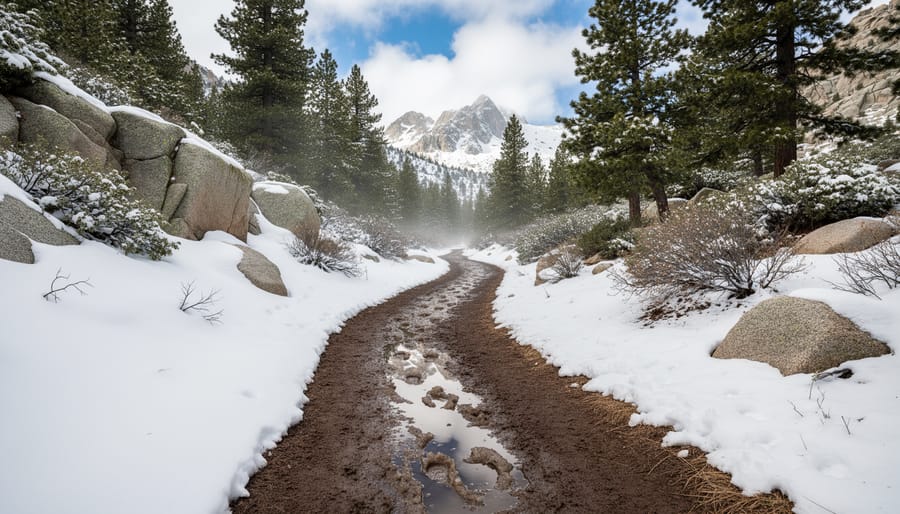
AllTrails reviews and photos come from other hikers, which means every one of them is a snapshot from a single day. That sunny summer photo of a creek crossing? It tells you nothing about the knee-deep, fast-moving water you might find after a winter storm. A glowing review from last July won’t mention the ice patches or the washed-out section of trail that appeared in January.
So check the date on every review before you trust it. Sort by newest, then look for entries from the past week or two. If the latest review is months old, treat the trail’s current condition as unknown. Pay attention to what recent hikers mention, like snow depth, mud, closures, or detours, and notice when the photos show bare ground in a season that should have snow.
Then cross-check with sources that update officially. Look up the park or national forest alerts page for closures and hazards. Pull a fresh forecast for the trailhead’s elevation, not just the nearest town. Check road conditions too, since a closed or chain-controlled road can end your plan before you start. If forecasts are new to you, brushing up on the weather basics will help you read what you find.
Step-by-Step: Planning and Hiking a California Winter Trail with AllTrails
Choosing the Right Trail for the Season
Winter changes which trails make sense, so start with the season, not the scenery. In AllTrails, open the filters and set your difficulty to easy or moderate, then keep your length short. Short days mean you want to be back at the car well before dark. Next, check elevation gain: lower numbers usually mean less snow, less ice, and less exposure when the weather turns.
Trail type matters too. Loops and short out-and-backs are easier to bail on than long point-to-point routes. Use the map view to look at where a trail sits, not just how it’s rated. Lower-elevation coastal, foothill, and desert routes tend to stay hikeable when the mountains are snowed in. Desert trails in particular shine in winter, with cooler temperatures and clear views that would be miserable in July.
High Sierra routes are a different story. Even a trail marked “moderate” can demand snow skills, traction, and avalanche awareness once the snow flies, and the app’s difficulty rating won’t reflect that. If you want a deeper look at what each park offers this time of year, our winter hiking guide is a good companion to your filter search.
Staying on Route When Snow Hides the Trail
When snow covers the tread, your phone’s blue dot becomes your best friend, but only if you check it often. Open the AllTrails map before you start and watch where that dot sits against the trail line. If it’s drifting more than a short distance off the line, stop and figure out why before you take another step.
Make a habit of glancing at the map at every junction, stream crossing, and open meadow. Those are the spots where winter hikers wander off. Look for other clues too: trail markers, cairns, blazes on trees, and the natural corridor of the route. Footprints are helpful, but they might belong to someone who was just as lost as you are.
If you realize you’ve drifted, don’t push forward hoping to rejoin the path. Turn around and retrace your steps, following your own tracks in the snow back to the last spot you were sure about. The app’s recorded track shows exactly where you’ve been, which makes backtracking much easier. Mark that spot mentally, then look for the route from there.
Don’t lean on the app alone. Cold drains batteries fast, and signal fades in canyons and under heavy tree cover. Keep a paper map and compass in your pack, and know how to use them. If the trail vanishes and the dot isn’t helping, that’s your cue to turn around while you still have daylight.
Core Winter Trail Skills That Go Beyond the App

The app gets you to the trailhead. These skills keep you safe when the screen goes dark, and the cold has a way of making that happen at the worst time.
Layer like an onion, not a marshmallow. Start with a moisture-wicking base (skip cotton), add an insulating mid layer like fleece or a light puffy, and top it with a wind- and water-resistant shell. Strip a layer before you start climbing and add one the moment you stop. Sweat is the real enemy, because damp clothing pulls heat from your body fast once you slow down.
Eat and drink before you feel like it. Cold dulls thirst, so sip regularly and carry an insulated bottle or keep it inside your pack so it doesn’t freeze. Snack on easy fuel like nuts, bars, and dried fruit every hour or so. Your body burns calories to stay warm.
Read the sky. Watch for building clouds, a sudden temperature drop, or a shift in wind. In California’s mountains, storms can roll in quickly, and a slick, muddy trail at 2,000 feet can be packed snow at 6,000. If conditions change, that’s your cue to turn around.
Get a grip. Traction devices that slip over your boots help on packed snow and ice, and trekking poles add balance on slippery descents and stream crossings. Test them at home first.
Carry a paper map and compass, and know how to use them. Learn to orient the map, take a bearing, and follow it. Pair these with your other survival essentials like extra insulation, a headlamp, and a way to make fire or signal for help.
Set that turnaround time at the trailhead, and honor it even when the summit looks close. Winter daylight is short, and the trail will still be there next weekend.
Verify Your Plan and Know What to Do Next
Common Questions About AllTrails and Winter Hiking in California
Quick answers to the questions we hear most before folks head out on a California winter trail.
Does AllTrails work without cell service?
The live map tiles won’t load without a signal, but your phone’s GPS still works. Download the trail’s offline map at home first so you can see your position on the route.
Do I need the paid plan for winter hikes?
Not to hike, but offline maps are a paid feature, and they matter most when snow and canyons knock out service. Features and plans change, so confirm what yours includes before you leave.
Are trail conditions in the app live?
No. Reviews and photos come from other hikers and can be days or months old, so check the date before trusting them. Cross-check with the park or forest service and the current forecast.
What if the trail is closed?
Believe the official closure over the app listing, and pick another route. Closures after storms usually mean flooding, slides, or unsafe footing, and they’re there to protect you.
Can I rely on the app for avalanche information?
No. AllTrails is not an avalanche forecasting tool. If your route crosses or sits beneath steep, snowy slopes in the Sierra, check a dedicated avalanche forecast and carry the training and gear to match, or choose lower terrain.
When in doubt, treat the app as one tool in your kit, not the final word. Turning around early beats pushing on with a hunch.
AllTrails is at its best when it’s one tool in a bigger kit, not the whole kit. Pair it with offline maps, a fresh look at current conditions, and the winter skills that keep you warm, fed, and oriented when the signal drops. Do that, and California’s winter trails open up in a way summer crowds never see: quiet coastal bluffs, glowing desert canyons, and snow-dusted ridgelines with the whole place to yourself.
Carry the habits that serve you in the Colorado high country, too. Check the forecast, pack the extra layer, and watch the clock. Daylight is short this time of year, and the mountain will still be there next weekend.
If the creek is running high, the snow is deeper than you planned, or the weather turns, turn around without guilt. A shortened hike is still a good hike.
Ready for your next adventure? Keep exploring our outdoor guides for more trail-tested tips, and we’ll see you out there.