
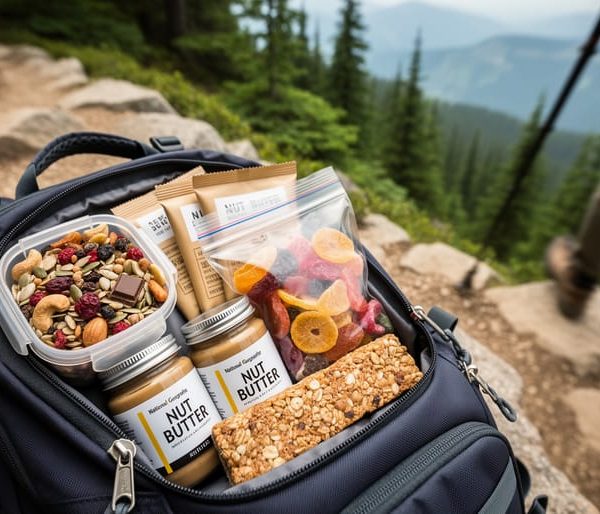
Packing smart snacks for a day hike means choosing compact, calorie-dense foods that won’t get crushed in your pack, then organizing them by when you’ll need energy most. The best approach combines timing strategy with storage techniques: portion out high-calorie snacks like trail mix and nut butter in leak-proof containers, keep a quick-access snack in your hip belt pocket for the first hour, and save protein-rich options for the turnaround point when your body needs sustained fuel for the descent.
Here in the high country around Dillon, where elevation gain can spike your calorie burn 30% higher than flatland hikes, what you pack and how you pack it directly impacts your stamina and enjoyment. Too many hikers throw a handful of granola bars into their daypack and wonder why they’re dragging by noon. The fix isn’t just about bringing more food. It’s about bringing the right foods in the right quantities, stored so they stay fresh and accessible when your energy dips.
The mechanics matter more than most people realize. A balanced snack strategy starts with understanding three variables: storage methods that protect food from altitude pressure changes and temperature swings, portion sizes calibrated to your distance and effort level, and a timeline that matches your body’s glycogen depletion curve. Trail mix earns its reputation as the go-to hiking snack because it checks every box: nuts deliver fat and protein, dried fruit provides quick sugars, and the whole mix packs down without bruising or melting.
This guide walks you through the complete packing process, from selecting durable, non-perishable options to organizing your snack rotation so you’re never digging through your entire pack mid-trail.
What You’ll Need: Snack Essentials and Packing Tools
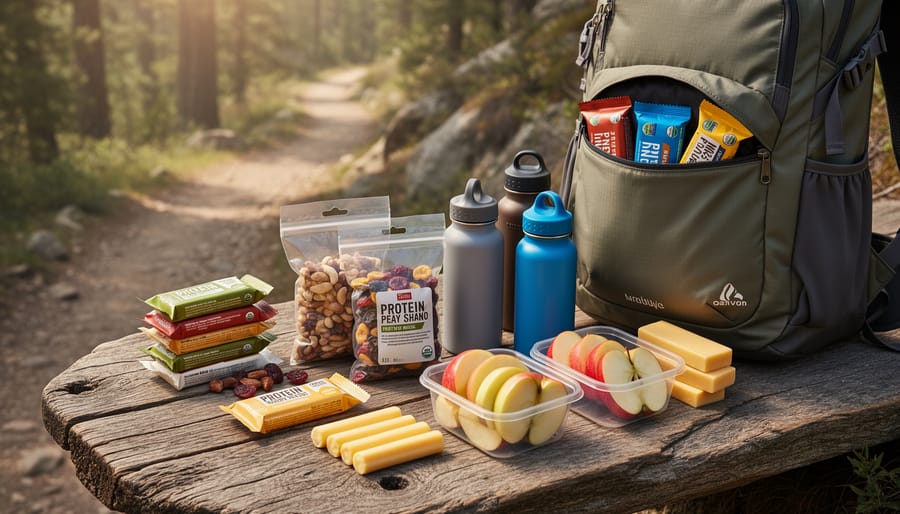
Getting your snacks right starts with having the right gear and picking foods that can handle the trail. You won’t need specialized equipment, just a few simple items that keep your food fresh, protected, and accessible when you need it most.
Start with lightweight, rigid containers for items that crush easily. Small plastic snap-lid boxes or reusable silicone bags work well for delicate snacks like no-bake cookies or energy balls. For everything else, resealable zipper bags let you portion snacks ahead of time and compress them to save pack space. If you’re hiking in warm weather or carrying items that soften in heat, a small insulated pouch keeps things like nut butter packets or chocolate-based snacks from turning into a melted mess.
Your actual food choices matter just as much as how you pack them. Look for options that deliver serious energy without taking up much room or adding unnecessary weight. These are the categories that perform best on day hikes around Dillon:
- Trail mix with nuts, dried fruit, and seeds, compact, calorie-dense, and easy to eat on the move
- No-bake cookies made with oats, nut butter, and honey, homemade, energy-rich, and travel-friendly
- Whole nuts or nut butter packets, high in healthy fats and protein per ounce
- Dried fruit like apricots, mango, or dates, natural sugars for quick energy
- Granola or energy bars, pre-portioned and require zero preparation
- Jerky or meat sticks, protein that doesn’t need refrigeration
Avoid bringing anything in glass jars, which add weight and create a safety hazard if they break. Skip fresh fruit that bruises easily or sandwiches that get soggy, save those for picnics at the trailhead. The goal is a balanced mix of quick-burning carbs and sustained-release fats and proteins, all packed in containers that won’t leak, crack, or take up half your daypack.
Safety and Freshness Considerations
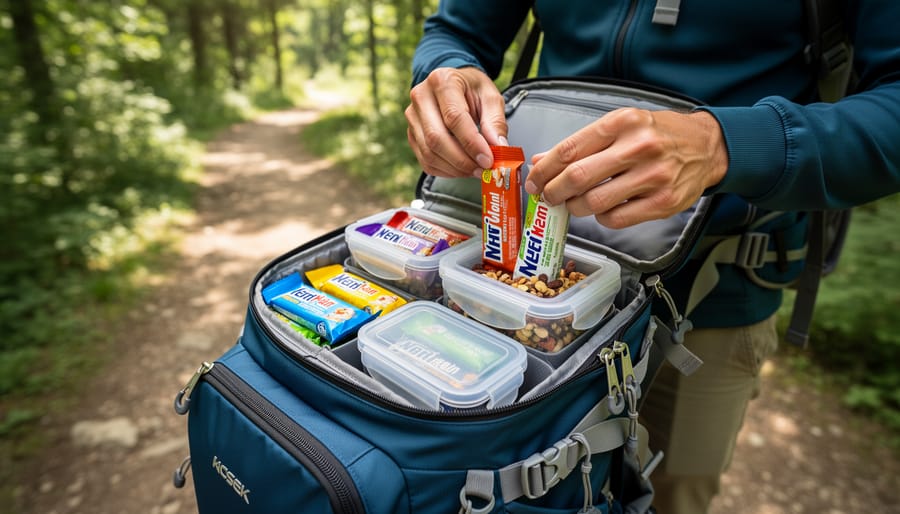
When temperatures spike on exposed trails above Dillon, seemingly safe snacks can turn dangerous fast. Dairy-based items, fresh meat, and anything with mayonnaise become a food danger in heat after just two hours in 90-degree weather, so stick to shelf-stable options that won’t spoil when your pack bakes in direct sun.
Check Weather basics before you head out, because what stays fresh at trailhead elevation might spoil by the time you climb 2,000 feet into warmer microclimates. If a snack smells off, shows visible mold, or tastes sour, throw it out immediately rather than risking stomach trouble miles from the car.
Glass jars shatter, heavy cans add needless weight, and individual wrappers create excessive trash you’ll need to haul out. Choose compact, non-perishable, calorie-dense foods in lightweight packaging that won’t burst or leak when compressed in your pack. Trail mix, nuts, dried fruit, and energy bars withstand rough handling and temperature shifts without breaking down.
Backcountry safety priorities include food storage that won’t attract animals or create waste, so plan snacks that remain stable whether you’re hiking through morning frost or afternoon heat. Avoid anything that melts, bruises easily, or requires refrigeration, and you’ll eliminate most spoilage risks before you even lace up your boots.
Step-by-Step: Packing Snacks for Your Day Hike
Plan Your Snack Quantities
Start by matching snack quantities to your hike’s length and difficulty. For a half-day outing around Dillon Reservoir, pack 200-300 calories of quick snacks per person, enough to refuel without weighing you down. A full-day trek to the Continental Divide demands more: plan for 400-600 calories in portable snacks spread across the day, plus a simple lunch if you’re on the trail for six hours or more.
Intensity matters as much as duration. Steep climbs at Dillon’s altitude burn calories faster than flat lakeside paths. If you’re tackling switchbacks or scrambling over rocks, lean toward the higher end of that calorie range and prioritize energy-dense foods that pack a punch in a small package, nuts, dried fruit, and no-bake cookies deliver more fuel per ounce than crackers or fresh produce.
For multi-day backpacking trips, shift your strategy from quick snacks to balanced daily nutrition. Plan three meals plus two to three snacks for each twenty-four hours, ensuring each day’s pack includes protein, healthy fats, and complex carbs to sustain energy over consecutive miles. A mix of trail mix, jerky, nut butter packets, and homemade treats keeps monotony at bay and your body fueled.
Choose Compact, Calorie-Dense Foods
The best hiking snacks deliver maximum energy without taking up valuable pack space. Focus on foods that pack at least 100-150 calories per ounce, this means nuts, seeds, nut butters, dried fruit, and dark chocolate rather than bulky crackers or fresh produce that’ll bruise after the first mile.
Trail mix remains the gold standard for backcountry eating. Combine almonds, cashews, or walnuts with dried cranberries, apricots, or banana chips, then add dark chocolate chips or coconut flakes for variety. You’re getting healthy fats, quick carbs, and protein in one handful, and it won’t spoil even if you forget it in your pack overnight.
Energy bars work well, but no-bake cookies offer a homemade alternative that travels just as easily. Made from oats, nut butter, and honey, they’re calorie-dense and customizable, add dried fruit or chocolate to suit your taste.
Skip anything with high water content like fresh fruit, which adds weight without proportional calories. Avoid fragile items such as chips or cookies in flimsy packaging that’ll turn to crumbs before you reach the trailhead. At Dillon’s elevation, your body burns fuel faster, so prioritize calorie density over volume every time.
Pack for Durability and Accessibility
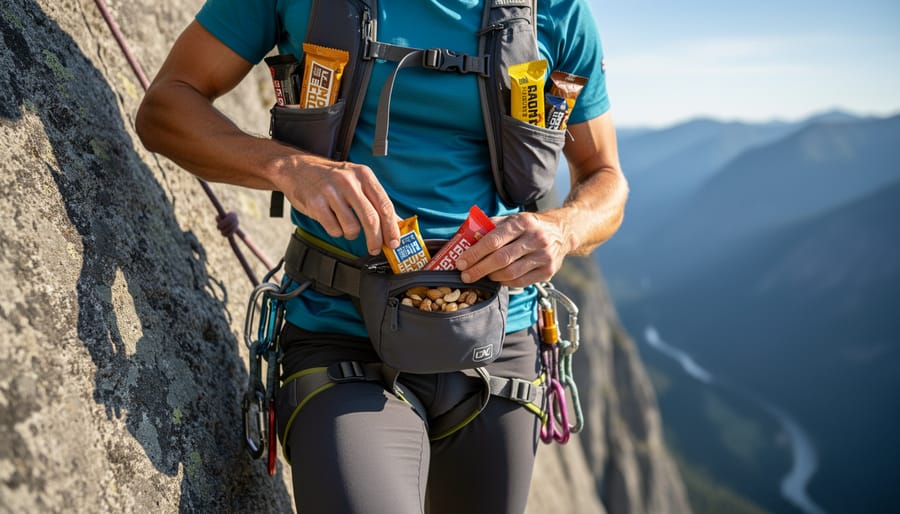
The way you pack matters as much as what you pack. Start with a rigid container for fragile items like crackers, chips, or homemade no-bake cookies, a hard-sided lunch box or a screw-top plastic canister prevents them from turning into crumbs at the bottom of your pack. Reserve soft bags or ziplock pouches for durable foods like trail mix, nuts, and dried fruit that can handle compression without damage.
Separate your snacks by how often you’ll need them. Keep high-energy options like trail mix, energy bars, or a small bag of chocolate-covered almonds in your pack’s exterior pockets or hip-belt pouches where you can grab them without breaking stride. This saves you from stopping every hour to dig through your main compartment. Store less-urgent snacks or backup reserves deeper in the pack, grouped together in one larger bag so you know exactly where to find them when you do stop for a longer break.
Avoid overpacking the top of your bag with snacks. Balance weight throughout the pack so it sits comfortably on your hips, and use any dead space around water bottles or gear to tuck in small snack bags. The goal is quick access to fuel without creating a disorganized mess that slows you down or crushes your carefully prepared food.
Prepare No-Bake Cookies Before You Hit the Trail
No-Bake Cookies are straightforward to make before you leave for your hike. Mix two cups of oats with half a cup of nut butter, a third cup of honey, and a handful of chocolate chips or cocoa powder in a bowl. Stir until everything sticks together, then press the mixture into a shallow pan or roll it into individual balls. Refrigerate for an hour so they firm up and hold their shape in your pack. These cookies are calorie-dense but lightweight, won’t flatten or bruise easily, and require no cooking on the trail. You can make them at home the night before or prep a batch at camp if you have a cooler. They store well for several days in a sealed container and give you quick energy when you need it most.
Timing Your Snacks on the Trail
Knowing when to snack matters as much as what you pack. On moderate day hikes, aim to eat something every 45 to 60 minutes rather than waiting until hunger hits. Your body burns through energy faster at elevation, and Dillon’s trails sit above 9,000 feet where every step demands more fuel than it would at sea level. By the time you feel hungry or notice fatigue creeping in, you’re already running low.
Start snacking within the first hour, even if you don’t feel like you need it yet. This keeps your blood sugar stable and prevents the energy crash that comes from going too long between bites. Watch for early warning signs: difficulty maintaining your usual pace, irritability, trouble focusing on the trail, or sudden coldness in your fingers. These signals mean your body needs calories now, not in another mile.
Quick, accessible snacks work best for this rhythm. Trail mix with nuts and dried fruit delivers fast energy without requiring you to stop and dig through your pack. Those no-bake cookies you prepared before the hike fit perfectly into a side pocket for grab-and-go fuel. Keep high-energy options within easy reach so you can eat while moving on gentle terrain.
The higher you climb, the more frequently you may need to refuel. Pay attention to how your body responds on each hike and adjust your timing accordingly. Some people do fine with hourly snacks, while others need a bite every 30 minutes on steep ascents.
Checking Your Snack Strategy: What Success Looks Like
A successful snack strategy reveals itself during and after the hike. If you maintained steady energy levels on Dillon Reservoir hikes without hitting a wall, arrived back at the trailhead with minimal leftover food, and never felt like your pack was dragging you down, you nailed it. Your snacks should have stayed fresh with no signs of spoilage, and you should have felt satisfied rather than famished or overstuffed at any point.
Pay attention to what didn’t work. If you ran out of food early or felt sluggish midway through, you likely underpacked or chose snacks that burned too quickly. Conversely, hauling home pounds of uneaten trail mix means you overpacked for that distance. Crushed cookies or warm, melted chocolate signal packaging or container issues. Take notes after each hike and adjust quantities, timing, or storage methods accordingly. Over a few outings, you’ll develop an intuitive sense of what your body needs and how much fits comfortably in your pack for different trail lengths and intensities.
Common Questions About Hiking Snacks
What snacks provide the most energy per ounce?
Nuts, nut butters, and chocolate rank among the highest-calorie options per ounce, delivering 150-200 calories in just a single-ounce serving. Trail mix combines nuts and dried fruit to balance quick energy with sustained fuel, making it one of the most nourishing and convenient choices for hiking.
How do you keep snacks from getting crushed on the trail?
Use rigid plastic containers or metal tins for fragile items like crackers or cookies, and pack them near the top of your backpack where they won’t bear weight. Place softer items such as energy bars in side pockets, and consider wrapping delicate snacks in a spare bandana or small towel for extra cushioning.
Can you bring perishable items on a day hike?
You can bring mildly perishable items like cheese or apples if you’ll eat them within the first few hours, especially on cooler mornings around Dillon. For hikes longer than four hours in warm weather, stick to non-perishable options to avoid spoilage and foodborne illness.
How much should you pack for kids?
Kids typically need snacks every hour rather than every 45-60 minutes like adults, so plan for one small snack per hour of hiking plus a backup. Involve them in choosing favorites before the hike to ensure they’ll actually eat what you carry, and pack slightly more than you think necessary since children’s appetites can spike unpredictably on the trail.
Beyond no-bake cookies, other homemade options that travel well include granola bars made with oats, honey, and dried fruit pressed into a pan and cut into squares. Energy balls rolled from dates, nuts, and cocoa powder require no baking and pack easily in small containers. Homemade beef jerky, if you have a dehydrator, offers compact protein that lasts for days without refrigeration. The advantage of making snacks yourself is controlling ingredients and sweetness levels while creating calorie-dense options tailored to your taste.
When planning quantities, remember that Dillon’s high altitude increases your energy expenditure compared to sea-level hikes. What feels like enough snacks for a two-hour trail at lower elevations might leave you depleted here. Start with more than you think you’ll need for your first few outings, then adjust based on what you actually consume and how you feel at the end of the hike.
Smart snack packing transforms an ordinary day hike into a sustained adventure. When you nail the three essentials, choosing the right storage containers, calculating your quantities based on trail length and intensity, and timing your fuel intake every 45 to 60 minutes, you’ll maintain steady energy from trailhead to summit and back. Those no-bake cookies you whipped up the night before deliver concentrated calories without taking up pack space or crumbling into dust, and they taste infinitely better than yet another energy bar.
Experiment with your own balanced mix. Combine calorie-dense nuts, dried fruit, and compact snacks that won’t flatten under the weight of your water bladder, then adjust quantities after each hike based on what you actually ate. The Dillon backcountry rewards preparation, but it also demands respect: pack out every wrapper, store food securely to avoid attracting bears or marmots, and follow Leave No Trace principles so the trails stay pristine for the next hiker. Your snacks fuel the journey; your habits protect the wilderness.